Prioritize your mental well-being daily. Enhance your life by nurturing your mental health with the Smart Meditation app. Break free from stress, alleviate anxiety, and enhance your sleep quality starting today.
How Do You Make Your Meditation Pyramid?
Crafting Your Sanctuary: The Art of Building a Meditation Pyramid
In today’s fast-paced world, finding a tranquil corner for reflection and inner peace is more crucial than ever. Enter the meditation pyramid—an oasis of calm that many swear by for deepening their meditation practices. But, how do you go about crafting one of these serene structures? Let’s dive into the nitty-gritty, ensuring you’re well-equipped to bring this potent symbol of equilibrium and energy into your personal space.
A Blueprint for Serenity
First things first, let’s lay down the groundwork. To embark on this venture, you’ll need a dash of creativity, a sprinkle of patience, and, of course, a basic understanding of geometry. Don’t worry; we’re not talking rocket science here, but rather, a simple yet precise plan to create your zen haven.
The Materials List
- PVC Pipes or Copper Tubing: The choice is yours, but remember, copper is often celebrated for its energy-conducting properties.
- Connectors: Depending on the chosen framework, you’ll need suitable connectors to bring the structure together. Think along the lines of elbow joints and T-joints.
- Measuring Tape and Markers: Precision is key, so arm yourself with a reliable tape measure and some markers.
- A Saw: For cutting your materials to the perfect size.
- Adhesive Tape or Glue: To secure those joints firmly in place.
Got everything? Great! Now, let’s move onto the assembly.
Step by Step to Tranquility
- Measure Twice, Cut Once: Determine the base size of your pyramid. A good starting point might be a 3-foot square if you’re looking for a small, personal meditation pyramid. Cut your materials to match the desired lengths.
- Connect the Dots: Use your connectors to bring the base of your pyramid to life. Ensure everything fits snugly.
- Raising the Roof: For the sides, you’ll want to measure and cut four more pipes or tubes that will act as the sloping edges leading to the apex of the pyramid.
- Seal the Deal: Once you’ve attached the sides, securing them at the top might require a bit of finesse. Use adhesive tape or glue for extra stability.
And voila! You’ve just constructed your very own meditation pyramid. But before you dive into your first session, let’s touch upon some additional tips to truly make the space your own.
Personalizing Your Pyramid
With the skeleton of your meditation pyramid now intact, it’s time to flesh it out with some personal touches. Consider these ideas:
- Crystals and Gemstones: Known for their energy-amplifying properties, placing crystals within your pyramid can enhance your meditation experience.
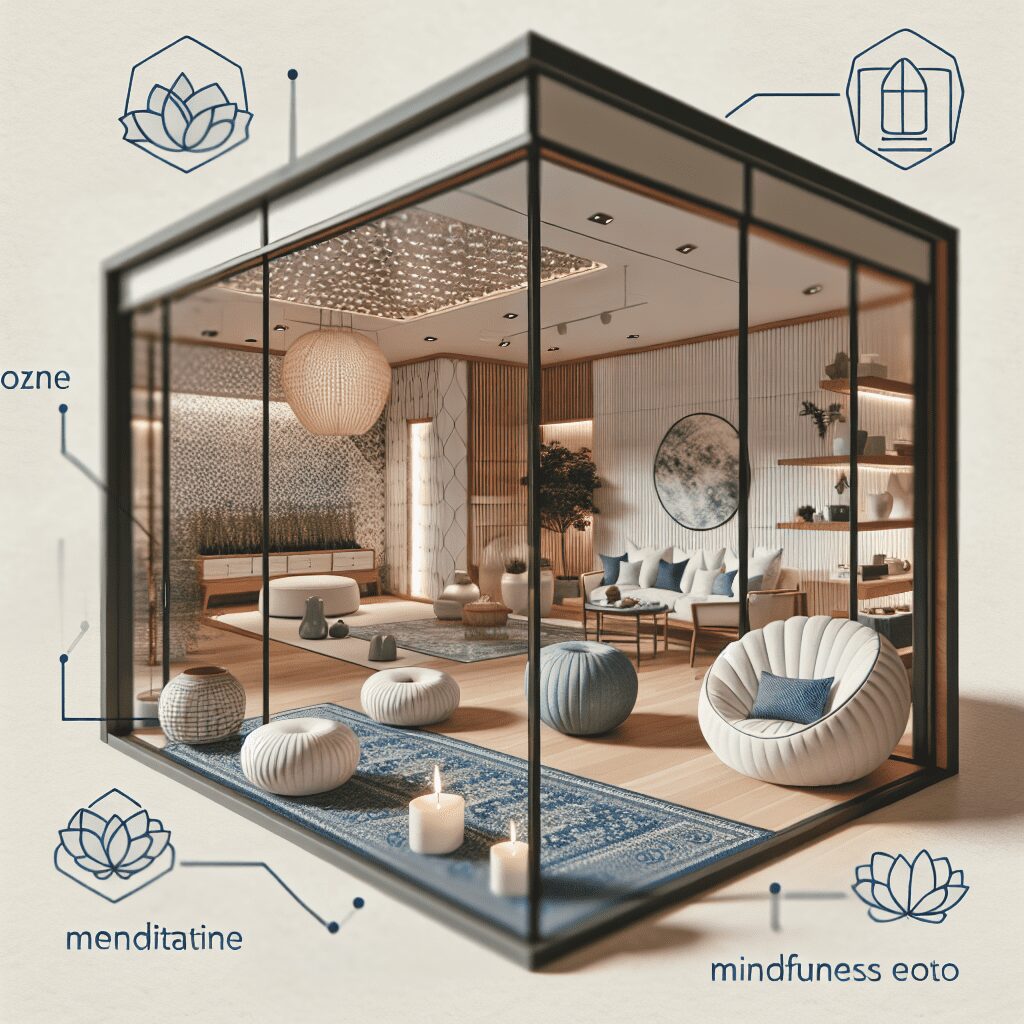
- Lighting and Aromatherapy: Soft lighting and soothing scents can set the perfect ambiance for your meditation practice.
- Comfort is Key: Don’t forget to add a comfortable mat or cushion for sitting. After all, you’ll be spending quite some time in there!
In crafting your meditation pyramid, you’re doing more than just building a physical structure; you’re creating a realm of tranquility that beckons with open arms whenever you need an escape. Remember, the beauty of this project lies as much in the journey as in the destination. So, take your time, enjoy the process, and here’s to countless serene moments in your new meditation sanctuary.


